Cult of Aquator
Contents
Summary
Quest Points: 50
Difficulty: Hard
Location: Vesimas & Omizara
Needed: 40+ Dodge, Fear/Confusion Immune, Free Action, Healing Method (Rods/Spell/Potions), Flying
Suggested: Endurance Potions (all), Blue Artifact DSM,
Challenges: Undine Warriors, Undine Mages, Skulls, Firedrakes, Red Dragons, Shoggoths.
Rewards: Medal of Honor, 100 Starter Crowns
A Quick way into Omizara
There is basically two parts to the quest. The first bit is to gain access into the city... However you can bypass this currently by simply walking up to the guards blocking your way to the city and type the command "kill undine". Put on a lifesaving amulet to avoid losing exp and such. (Spirit Travel can help with this aswell) Once you die you will be inside the town! If you did the method of death then you can skip to the 2nd part!
Getting Started
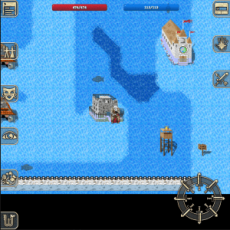
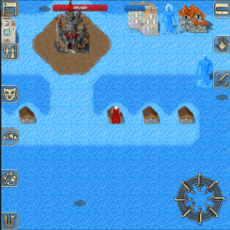
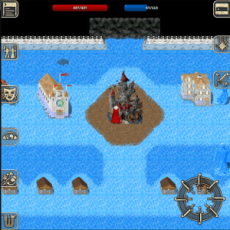
- Go to Vesimas, located on the world map in the middle of the ocean SE of Minath.
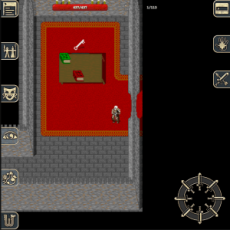
- In the city, locate the jail called “Aquator Holding Cell” immediately to the west of the entrance.
Aquator Holding Cell
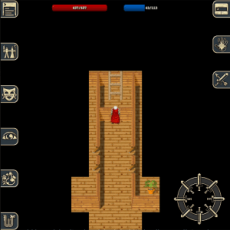
- In the holding cell, go down the stairs.
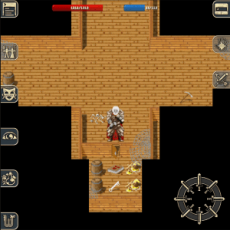
- There will be 3 levers you need to pull to unlock the cell to Aquator himself, one in the west, one directly north, and one in the east. We will refer to this crossroads location as the main entrance.
- West Lever:
- From main entrance, go west one map.
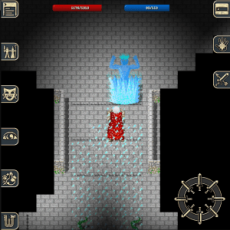
- Locate the stairs covered with fog and go down.
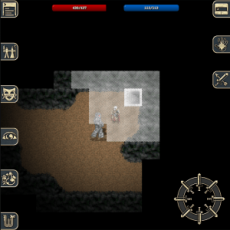
- Fight through the shogs and find the staircase going up.
- Go east through the hallway and apply the lever.
- Return to the main entrance.
- East Lever:
- From main entrance, go east one map.
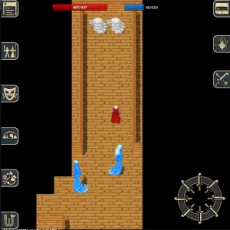
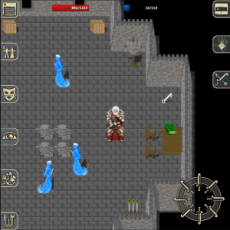
- Locate the stairs going down guarded by undead.
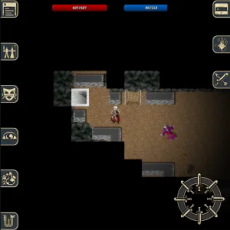
- Fight through liches and skulls and locate the stairs going back up.
- Go west through the hallway and apply the lever.
- Return to the main entrance.
- North Lever:
- Go north in the main entrance map and go down the stairs.
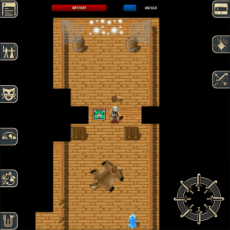
- Fight through the lava filled room through firedrakes and red dragons and locate the stairs going back up.
- Go north through the hallway and apply the lever.
- The gates will lower. Stay in this room.
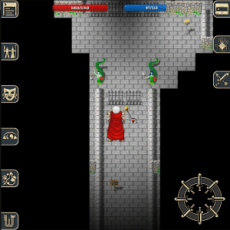
- Go north through the lowered gates and kill Aquator behind the gates.
- Loot Weathered Rebel Handbook from his corpse.
Path to Omizara
- Exit the Aquator Holding Cell to return to Vesimas.
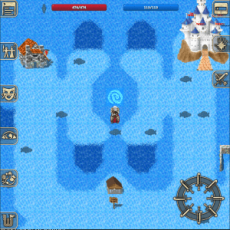
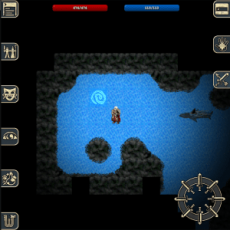
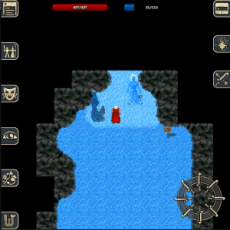
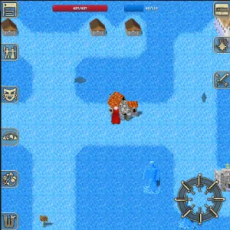
- Locate the whirlpool in the NW and go down it.
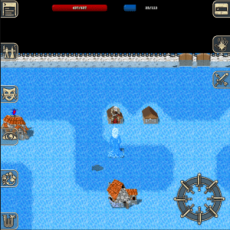
- There are multiple paths to Omizara and it doesn’t matter which one you take. You can follow the staircases down or keep entering the whirlpools, both will eventually lead you to Omizara.
- If you take the staircases, you will eventually encounter choice of 3 different paths labeled “Easy,” “Medium,” and “Hard.” The choice doesn’t matter it only dictates what monsters you fight. At the end of the path you will find a teleporter to a new map with another staircase down. Take the staircase down, locate the last whirlpool in the west and enter it to reach the entrance to Omizara.
- At the entrance, you will encounter two Undine guards. Tap on one of them to give them the Weathered Rebel Handbook. They will move out of the way and you can finally enter Omizara.
First Castle Key
- Omizara is separated into two main sections: rebels side and believers side. There are 2 keys you need before entering Aquator’s castle, one from each side. You enter Omizara on the rebel’s side.
- On the rebel’s side, locate the stone house with an orange roof immediately to the east and enter the house.
- Enter the command talk wraith to the guards to have them move aside.
- Go upstairs, and locate another undine named Master and enter the command talk wraith again to receive the unknown key.
- Exit the building, go north through the gates to the believer side.
- Locate the row of small brown houses, and enter the first one on the east side.
- Unlock the north door with the unknown key, and go up the stairs.
- Kill the attic guard, and open the door in the south to pick up First Castle Key and Guard’s Handbook.
Second Castle Key
- Exit the building and return to the rebel side of Omizara.
- Locate the row of small brown houses and enter the house farthest in the west.
- In the east side of the house, locate the invisible door through the wall and pick up the Second Castle Key.
Final Key 1
- The last 3 keys we need are located in Aquator’s castle. Go north to the believer side, and enter the black castle.
- Go north through the dirt path, past the Aquator statue, to go north one map.
- From the throne room, go east one map.
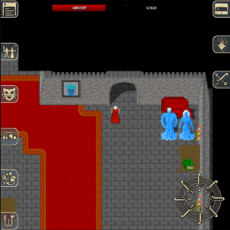
- You will find a large stairwell entrance next to two undine sitting on a couch. This guide will refer to this stairwell as the “main stairwell.” Enter the stairwell.
- Go down the large staircases to the basement.
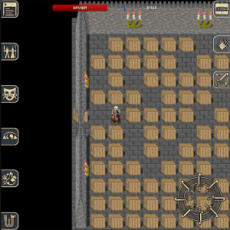
- The next room has a box puzzle where you have to navigate the maze and be careful not to push boxes into a position that blocks your path. Take not of the orange portal at the bottom of the staircase, if you get stuck or move a box into a incorrect position, return here and apply the portal to reset the maze.
- When navigating the maze, push boxes out of the way into positions where they will not block the weaving path to west exit.
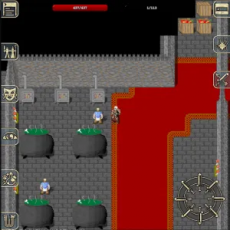
- After you exit the maze, follow the red carpet to the west, and type “unlock gate” to use First Castle Key to unlock the gate.
- Enter the room and grab Final Key 1.
Final Key 2
- Exit the room where you got Final Key 1, and go south to enter the most SE room.
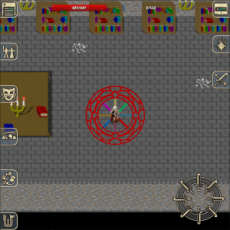
- Kill the undine mages and stand in the middle of the colorful mage circle and enter the command concentrate.
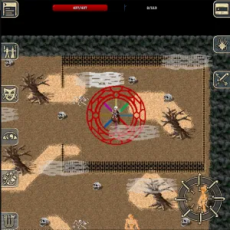
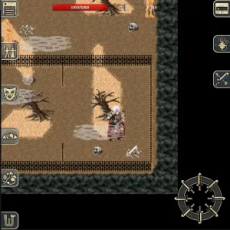
- You will be transported to a graveyard. Navigate the graveyard to the SE corner and grab Final Key 2.
- Exit the graveyard through the colorful mage circle, and return the way you came to the main stairwell.
Final Key 3
- Exit the room, and return through the box puzzle back to the main staircase.
- Go up the large staircase to the ground floor.
- Exit the staircase, go west to the throne room, then south through the dirt path back to where you originally entered the castle.
- Work your way counter-clockwise around the castle to the 4 stairs in the most NE map. Go up the stairs.
- Grab the Final Key 3 sitting on the floor.
Poison Vial
- Return to the main stairwell (through the dirt path, east of throne room).
- Go up the large staircase to the second floor.
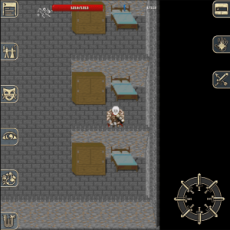
- Exit the stairwell, go all the way west to the female undine living quarters.
- Use the command “unlock gate” to use Second Castle Key to unlock the gate.
- On the east side of the room, behind the wall of the second bed from the bottom, you will find a guard’s chest.
- Loot the guard’s chest to receive a poison vial.
Poisoned Orange
- Retrace your steps back to the main stairwell, down the stairs, and to the throne room.
- Go west one map and enter the kitchen.
- Locate the north most chef that talks about poisoning guards.
- Tap on the chef to give him the poison vial and receive a poisoned orange in return.
- Return to the main stairwell east of the throne room, and go to the very top of the staircase.
- Tap on the Undine Commander to give him the poisoned orange so he politely moves out of the way and enter the revealed passageway.
High Priest’s Puzzles
- Enter the High Priest’s bedroom in the NW.
- A lever hidden behind a dresser will open the secret passage.
- Take the revealed stairway all the way to the very bottom and enter the orange portal.
- You will enter the puzzle challenge. There are 3 puzzles: trivia/riddles, hallway maze, and a trap room. At the end of each puzzle, you will use one of the Final Keys you just obtained to unlock the gate and move onward.
- Trivia & Riddles: There are two paths you can take. The west portals ask trivia questions about the world of Wyvern, and the east portals ask riddles. It doesn’t matter which path you take, so pick a path, make sure you don’t have the command “say” aliased to anything, and answer the questions in this order with the command “say <answer>”:
- West Path: five, New Verden, 11
- East Path: tree, eight, waterfall
- Hallway Maze: The hallway maze consists of continous crossroads with no indication you took the correct path. You can drop silver coins at the intersections and slowly work your way through by using the coins as a reference if you returned to the start of the maze or follow this path carefully:
east, north, west, north, east, east, south, east, south, west, south, east, east, north.
- Trap Room: The last puzzle is a trap room with 4 paths. The easiest path is most likely the firespout path, but pick your poison and make your way quickly down the hallway.
- Unlock the last gate and be prepared to fight.
- In the next room, kill the High Priest and loot the High Priest’s Orb from his corpse.
Water Deity, Aquator
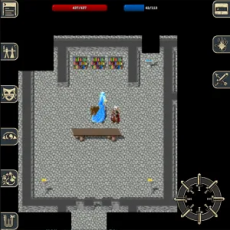
- Prepare to fight Aquator one last time. He is much stronger this time around. He will summon demons to aid him and has both a powerful wrath of gods and icestorm spell. There will also be undine guards protecting him.
- When you are ready, apply the colorful mage circle to consume your High Priest’s Orb and enter Aquator’s Sanctuary.
- Kill Aquator, and loot his corpse for a key.
- Go north one map to a room filled with cells.
- Find the cell with treasure on the ground and use the key to unlock the cell door.
- Pick up Aquator’s Crown off the ground in the cell.
- Find the Master near the exit of the room, and click on him to finish the quest.
